1. Wprowadzenie
This manual provides detailed instructions for the installation of the Connects2 CT24MZ13 adapter frame. This product is designed to facilitate the integration of an aftermarket car radio into the dashboard of Mazda 2 and Demio models manufactured from 2008 onwards, ensuring a seamless and professional finish.
2. Koniec produktuview
The Connects2 CT24MZ13 is a high-quality adapter frame, also known as a fascia panel, specifically engineered to replace the factory radio trim. It allows for the secure mounting and aesthetic integration of a new car radio, maintaining the original vehicle's interior appearance. The frame is constructed from durable materials to ensure longevity and a precise fit.
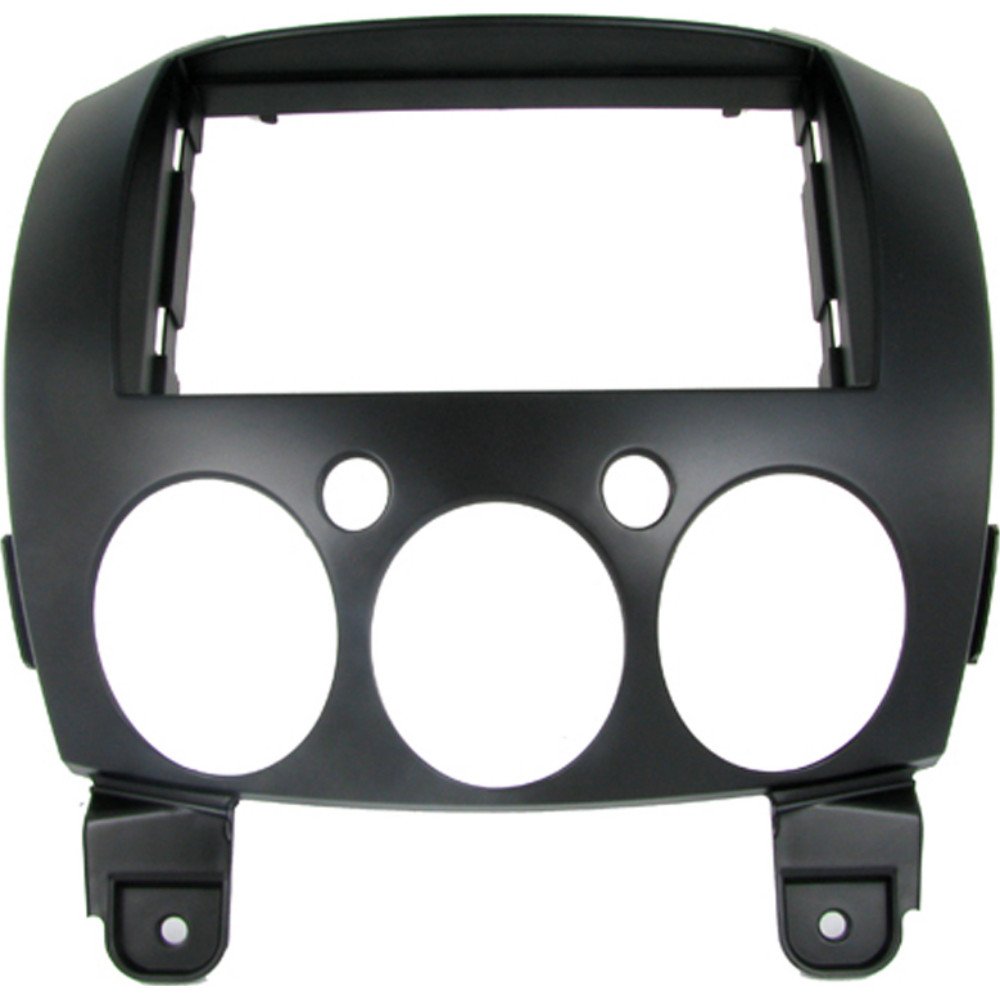
Image 1: Connects2 CT24MZ13 Adapter Frame. This image displays the adapter frame, which is designed to fit into the dashboard of compatible Mazda vehicles, providing a clean bezel for an aftermarket car radio.
3. Zawartość opakowania
Please verify that all components are present before beginning the installation:
- 1 x Connects2 CT24MZ13 Adapter Frame
4. Zgodność
This adapter frame is compatible with the following vehicle models:
- Mazda 2 (2008 onwards)
- Mazda Demio (2008 onwards)
It is designed for use with aftermarket car radios that conform to standard DIN sizes.
5. Informacje dotyczące bezpieczeństwa
Always prioritize safety during installation. Disconnect the vehicle's battery before starting any electrical work. If you are unsure about any step, consult a qualified professional. Wear appropriate personal protective equipment, such as gloves and eye protection, if necessary. Ensure all connections are secure to prevent electrical shorts or malfunctions.
6. Konfiguracja i instalacja
Follow these steps carefully to install the adapter frame and your new car radio:
- Przygotowanie: Ensure the vehicle's ignition is off and disconnect the negative terminal of the car battery to prevent electrical hazards.
- Usuń fabryczne radio: Carefully remove the existing factory radio and any surrounding trim panels. Refer to your vehicle's service manual for specific instructions on trim panel removal, as this can vary by model. Use appropriate trim removal tools to avoid damaging the dashboard.
- Odłącz okablowanie: Disconnect all wiring harnesses and antenna cables from the back of the factory radio.
- Install New Radio Brackets (if applicable): If your new aftermarket radio requires specific mounting brackets, attach them to the radio according to the radio manufacturer's instructions.
- Mount Adapter Frame: Position the Connects2 CT24MZ13 adapter frame into the dashboard opening. It should snap or screw into place, aligning with the existing mounting points. Ensure it sits flush with the surrounding dashboard.
- Install Aftermarket Radio: Slide your new aftermarket car radio into the adapter frame. Secure it using the radio's mounting screws or clips, ensuring it is firmly seated within the frame.
- Podłącz okablowanie: Connect the wiring harnesses (including any necessary adapter harnesses for your vehicle and radio) and the antenna cable to the new car radio. Double-check all connections for security.
- Funkcjonalność testu: Before reassembling the dashboard, reconnect the car battery and turn on the ignition. Test the new car radio's functionality, including power, audio output, radio reception, and any other features.
- Ponowne złożenie pulpitu nawigacyjnego: Once you have confirmed that the radio is working correctly, carefully reattach any removed trim panels and secure them.
7. Operating the New Head Unit
The Connects2 CT24MZ13 adapter frame is a passive component that provides the necessary aesthetic and structural support for your aftermarket car radio. Once installed, the operation of your new head unit will be governed by its own manufacturer's instructions. The adapter frame ensures that the new radio fits correctly and looks integrated into your vehicle's dashboard.
8. Konserwacja
The adapter frame requires minimal maintenance. To keep it clean, gently wipe the surface with a soft, damp cloth. Avoid using harsh chemicals or abrasive cleaners, as these can damage the finish of the frame.
9. Rozwiązywanie Problemów
Jeżeli po instalacji wystąpią jakieś problemy, rozważ poniższe kwestie:
- Słabe dopasowanie: Ensure the adapter frame is correctly aligned and all mounting points are engaged. Verify that the vehicle model and year are within the specified compatibility range.
- Radio Not Securing: Check that the aftermarket radio's mounting cage or brackets are properly installed and engaged with the adapter frame.
- Dashboard Gaps: Re-check the installation of all surrounding trim panels. Sometimes, panels need to be re-seated firmly to eliminate gaps.
- Radio się nie włącza: This is typically a wiring issue, not related to the adapter frame. Re-check all electrical connections to the car radio and ensure the car battery is properly connected.
10. Specyfikacje
| Funkcja | Specyfikacja |
|---|---|
| Marka | Łączy2 |
| Numer modelu | CT24MZ13 |
| ASIN | B003OA5BQ6 |
| Zgodność | Mazda 2 / Demio (2008 onwards) |
| Typ złącza | HAŁAS |
| Ilość w opakowaniu | 1 |
11. Gwarancja i wsparcie
Connects2 provides a 2-year availability for spare parts for this product. For technical support or inquiries regarding spare parts, please contact your retailer or Connects2 directly through their official webstrona.


