
Wstęp
This manual provides instructions for the proper use and care of your JOBY Ballhead for SLR-Zoom Tripod. This ballhead is designed to provide precise positioning for cameras with zoom lenses, supporting equipment up to 3 kg (6.6 lbs). It features a quick-release plate and an integrated bubble level for enhanced stability and ease of use.
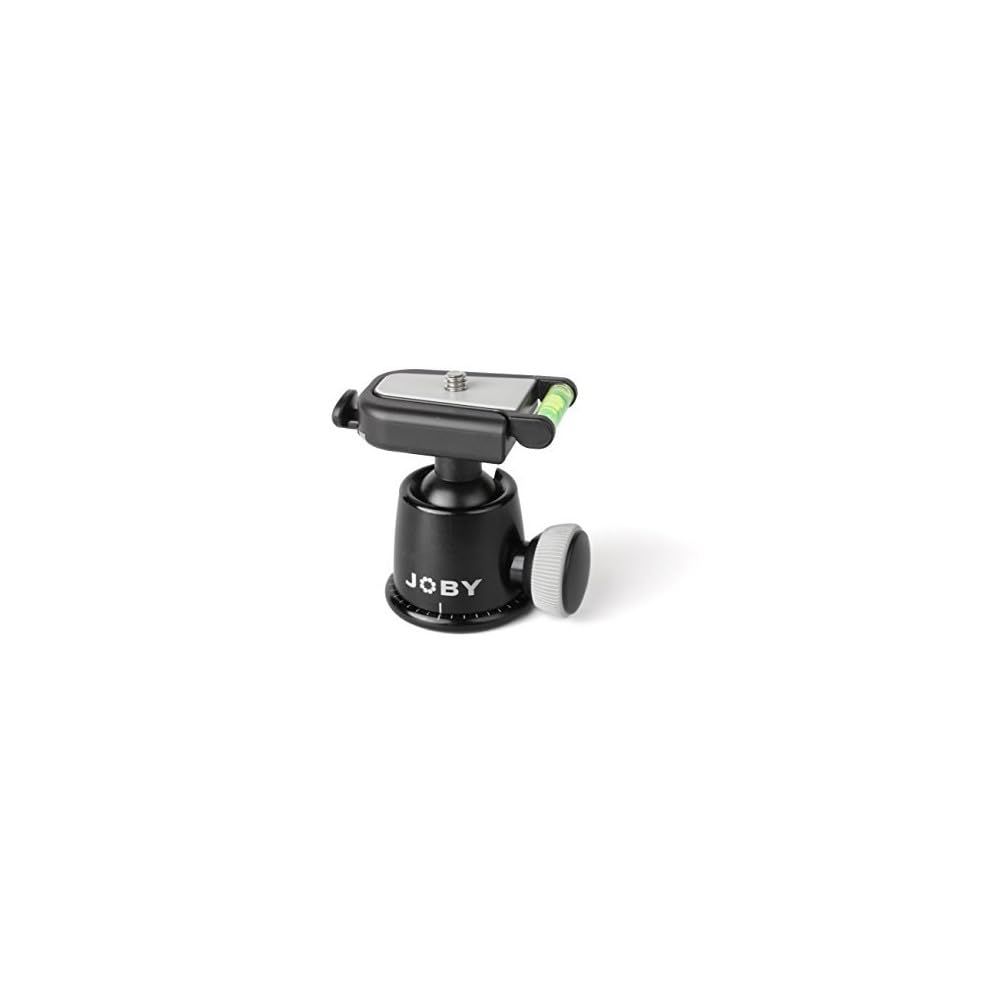
Figure 1: JOBY Ballhead for SLR-Zoom Tripod in its retail packaging.
Zawartość opakowania
- JOBY Ballhead for SLR-Zoom Tripod
- Płyta szybkiego uwalniania
Organizować coś
Mocowanie do statywu
The ballhead features a 1/4"-20 screw and a 3/8" adapter for compatibility with various tripods. Ensure the ballhead is securely fastened to your tripod's mounting screw by rotating it clockwise until tight. Do not overtighten.

Figure 2: The JOBY Ballhead, illustrating its base for tripod attachment and the quick release plate mechanism.
Podłączanie aparatu
Secure the quick release plate to the bottom of your camera using the integrated screw. Ensure the screw is tight to prevent camera rotation. Then, slide the plate with your camera into the ballhead's receiver until it locks into place with an audible click. Verify the camera is firmly seated before use by gently pulling upwards.

Figure 3: A camera securely mounted on the JOBY Ballhead, demonstrating proper attachment to a tripod.
Instrukcja obsługi
Regulacja pozycji kamery
The ballhead allows for 360-degree panning and 90-degree tilt. To adjust your camera's position, loosen the locking adjustment knob. This will allow the ball to move freely, enabling you to angle your camera as desired. Once the camera is in the desired position, tighten the knob firmly to secure it.

Figure 4: The ballhead allows for versatile camera positioning on a flexible tripod.
Using the Bubble Level
The integrated bubble level assists in achieving a perfectly horizontal shot. Adjust the camera position using the ballhead until the bubble is centered within the level indicator. This ensures your horizons are straight in your photographs and videos.

Figure 5: A camcorder mounted on the ballhead, highlighting the bubble level for precise leveling.
Konserwacja
To ensure the longevity and optimal performance of your JOBY Ballhead, follow these maintenance guidelines:
- Czyszczenie: Keep the ballhead clean and free from dust, dirt, and debris. Use a soft, dry cloth for cleaning. Avoid using harsh chemicals, solvents, or abrasive materials, as these can damage the finish or internal components.
- Kontrola: Periodically check all screws and connections to ensure they are tight. Loose components can affect stability and performance.
- Składowanie: Store the ballhead in a dry, cool place away from direct sunlight and extreme temperatures.
Rozwiązywanie problemów
Camera Drooping After Tightening
If your camera droops or shifts position after tightening the adjustment knob, ensure the knob is fully tightened. Verify that your camera and lens combination does not exceed the maximum weight capacity of 3 kg (6.6 lbs). Overloading the ballhead can lead to instability and prevent it from holding position effectively.
Difficulty Mounting/Dismounting Camera
Ensure the quick release plate is correctly aligned and fully inserted into the ballhead receiver. Apply firm, even pressure when sliding the plate. If the adapter screw (from 3/8" to 1/4") becomes loose or appears to sink into the ballhead body, ensure it is properly seated and tightened if removable. Refer to the setup section for correct attachment procedures.
Specyfikacje
- Marka: Joby
- Nazwa modelu: Ballhead for SLR Zoom
- Numer modelu: JB00131-BWW
- Zgodne urządzenia: Kamera
- Tworzywo: ABS Plastic, Aluminum, Rubber, Stainless Steel, Steel, TPE
- Waga przedmiotu: 0.15 kg (0.33 funta)
- Limit wagowy: 3 kg (6.6 funta)
- Maksymalna wysokość: 6.3 centymetrów (2.5 cala)
- Typ głowicy statywu: Głowice kulowe
- Gwint montażowy: 1/4"-20 with 3/8" adapter
Gwarancja i wsparcie
For detailed warranty information, product registration, and customer support, please visit the official Joby website or contact your authorized Joby retailer. Keep your proof of purchase for any warranty claims.