1. Wprowadzenie i koniecview
This manual provides detailed instructions for the safe and efficient use of the Helios ESA 3 Surface-Mounted Fan Speed Controller, Model 239. This device is designed to regulate the speed of compatible ventilation fans, offering precise control over airflow. Please read this manual thoroughly before installation and operation to ensure proper function and safety.
2. Instrukcje bezpieczeństwa
OSTRZEŻENIE: Electrical shock hazard. Always disconnect power before installing, servicing, or cleaning this device. Installation should only be performed by a qualified electrician in accordance with all local and national electrical codes.
- Ensure the power supply matches the device's requirements (230 Volts).
- Nie przekraczać maksymalnego prądu znamionowego wynoszącego 2.5 Amperes or power rating of 575 Watts.
- Do not operate the device with damaged wiring or if it has been exposed to moisture.
- Podczas obsługi i konserwacji urządzenia należy trzymać dzieci z dala od niego.
- Urządzenie przeznaczone jest wyłącznie do użytku wewnątrz pomieszczeń.
3. Zawartość opakowania
Przed rozpoczęciem instalacji sprawdź, czy wszystkie komponenty są obecne:
- Helios ESA 3 Fan Speed Controller (Model 239)
- Installation material (screws, anchors, etc.)
4. Konfiguracja i instalacja
The Helios ESA 3 is designed for surface mounting. Follow these steps for proper installation:
- Wybierz lokacje: Select a suitable, dry, and easily accessible location for surface mounting. Ensure adequate space for wiring and operation.
- Odłącz zasilanie: Before making any electrical connections, ensure the main power supply to the installation area is completely disconnected at the circuit breaker.
- Zamontuj urządzenie: Use the provided installation material to securely mount the controller to the chosen surface. The device dimensions are approximately 16 x 7 x 27 cm.
- Połączenia elektryczne: This device uses screw terminals for wiring. Connect the power supply and the fan wiring according to the electrical diagram provided with the device (not included in this manual, refer to product packaging or manufacturer's website for specific wiring diagrams). Ensure all connections are tight and secure. The connector type is plug-in.
- Sprawdź instalację: Double-check all connections and mounting security before restoring power.
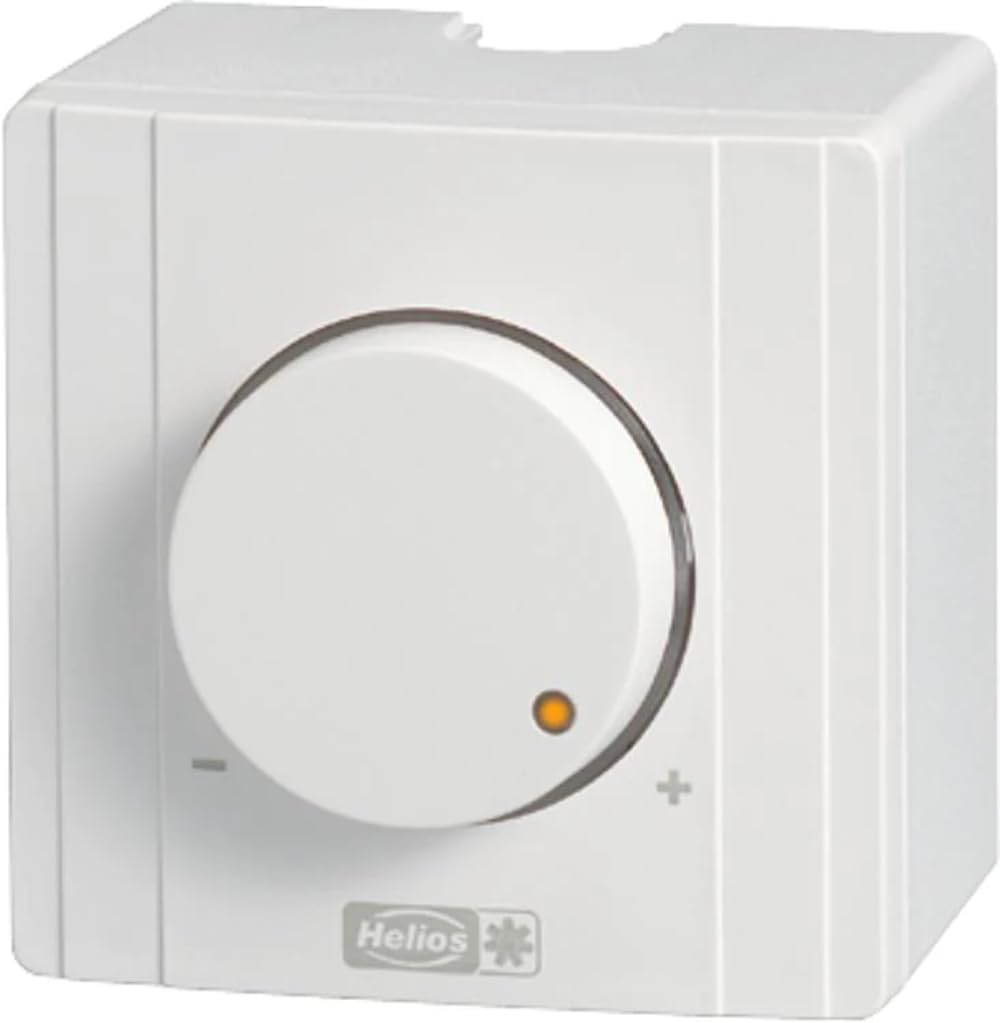
Rycina 1: Przód view of the Helios ESA 3 Fan Speed Controller. This image shows the general appearance of the device, which is designed for surface mounting and features control buttons.
5. Instrukcja obsługi
The Helios ESA 3 Fan Speed Controller operates with a simple ON-OFF mode and allows for speed adjustment via button control or remote control.
- Włączanie/wyłączanie zasilania: Use the main push-button actuator to switch the connected fan ON or OFF.
- Regulacja prędkości: Once the fan is ON, use the control buttons on the device or the remote control (if applicable and purchased separately) to adjust the fan speed. The transistor switch type allows for smooth regulation.
- Metoda sterowania: The device supports both direct button control and remote control functionality.
6. Konserwacja
Regular maintenance ensures the longevity and optimal performance of your speed controller.
- Czyszczenie: Disconnect power before cleaning. Wipe the exterior of the device with a soft, dry cloth. Do not use abrasive cleaners or solvents.
- Kontrola: Periodically inspect the wiring connections for any signs of wear or loosening.
- Części zapasowe: Information regarding the availability of spare parts for this model is currently unavailable. Please contact Helios customer support for assistance if replacement parts are needed.
7. Rozwiązywanie Problemów
If you encounter issues with your Helios ESA 3 Fan Speed Controller, refer to the following common problems and solutions:
| Problem | Możliwa przyczyna | Rozwiązanie |
|---|---|---|
| Urządzenie nie włącza się. | No power supply; loose wiring; faulty circuit breaker. | Check power supply at the source. Verify all wiring connections are secure. Reset the circuit breaker. |
| Prędkości wentylatora nie można regulować. | Incorrect wiring; incompatible fan; faulty control buttons/remote. | Ensure wiring is correct according to the diagram. Confirm the fan is compatible with speed control. Test control buttons or remote. |
| Fan operates erratically. | Loose connections; electrical interference; device malfunction. | Check all wiring connections. Ensure the device is not near sources of strong electrical interference. If problem persists, contact support. |
If troubleshooting steps do not resolve the issue, please contact Helios customer support.
8. Specyfikacje
| Numer modelu | 239 |
| Marka | Helios |
| Wymiary (dł. x szer. x wys.) | Wymiary 16 x 7 x 27 cm |
| Waga | 2 kilograma |
| Objętość operacyjnatage | 230 wolty |
| Obecna ocena | 2.5 Ampjesteś |
| Moc | 575 watów |
| Tryb działania | WŁ-WYŁ |
| Typ montażu | Montaż powierzchniowy |
| Metoda kontroli | Button Control, Remote Control |
| Typ siłownika | Naciśnij przycisk |
| Typ przełącznika | Tranzystor |
| Typ terminala | Śruba |
| Typ złącza | Wtyczka |
| Tworzywo | Plastic (housing), Copper (contact material) |
| Certyfikaty | CE, ISO 9001, TÜV |
| Zawarte komponenty | Materiały instalacyjne |
9. Gwarancja i wsparcie
Helios products are manufactured to high-quality standards. For specific warranty information, please refer to the documentation included with your purchase or visit the official Helios website. For technical support, service, or inquiries about spare parts, please contact your retailer or Helios customer service directly.