Oświetlenie Progress P3689-44
Progress Lighting P3689-44 Two-Light Close-to-Ceiling Fixture Instruction Manual
Wstęp
This manual provides detailed instructions for the safe installation, operation, and maintenance of your Progress Lighting P3689-44 Two-Light Close-to-Ceiling Fixture. Please read all instructions carefully before beginning installation and retain this manual for future reference.
The P3689-44 fixture features a clean design with elegant lines, complemented by a satin Oxford Silver finish and an etched alabaster style glass shade. Its unique twist-lock shade design allows for easy access for changing light bulbs without external hardware.
Informacje dotyczące bezpieczeństwa
OSTRZEŻENIE: Ryzyko porażenia prądem. Przed instalacją lub serwisowaniem należy odłączyć zasilanie w skrzynce bezpieczników lub wyłączniku automatycznym.
OSTROŻNOŚĆ: For your safety, read and understand the information provided in this manual completely before attempting to assemble, install, or operate this product. Failure to do so could lead to electric shock, fire, or other injuries that could be hazardous or even fatal.
- Wszystkie połączenia elektryczne muszą być zgodne z lokalnymi przepisami, rozporządzeniami lub Krajowym Kodeksem Elektrycznym (NEC).
- Jeśli nie masz pewności co do procedur związanych z okablowaniem, skonsultuj się z wykwalifikowanym elektrykiem.
- Use only UL/cUL listed wire connectors.
- Nie przekraczać maksymalnej mocytage określone dla żarówek.
- Upewnij się, że oprawa jest solidnie zamocowana do elementu konstrukcyjnego sufitu.
Zawartość opakowania
Carefully unpack your fixture and check that all parts are included. If any parts are missing or damaged, contact Progress Lighting customer service before proceeding.
- Korpus mocowania (1)
- Szklany klosz (1)
- Zestaw elementów montażowych (1)
- Instrukcja obsługi (1)
Konfiguracja i instalacja
Wymagane narzędzia (nie dołączone):
- Śrubokręt krzyżakowy
- Śrubokręt płaski
- Szczypce boczne
- Taśma izolacyjna
- Okulary ochronne
Kroki instalacji:
- Wyłącz zasilanie: Before starting installation, ensure the power to the circuit is turned off at the main fuse box or circuit breaker.
- Przygotowanie montażu: Attach the mounting bracket to the junction box in the ceiling using the screws provided in the hardware kit. Ensure the bracket is securely fastened.
- Okablowanie: Podłącz przewody oprawy do przewodów instalacji domowej zgodnie z poniższą instrukcją:
- Połącz czarny przewód mocujący do czarny (hot) house wire.
- Połącz biały przewód mocujący do biały (neutralny) przewód domowy.
- Połącz goła miedź (ground) fixture wire to the zielona lub goła miedź (ground) house wire.
- Mount fixture body: Carefully push the wired fixture body up to the ceiling, aligning the screw holes on the fixture with the screws on the mounting bracket. Secure the fixture body in place with the decorative nuts or screws provided.
- Montaż żarówek: Insert two (2) 60-watt maximum medium base bulbs (not included) into the sockets. Do not exceed the recommended wattage.
- Attach glass shade: Align the glass shade with the fixture body and twist it clockwise until it locks securely into place. The unique twist-lock design ensures the shade is held firmly without visible hardware.
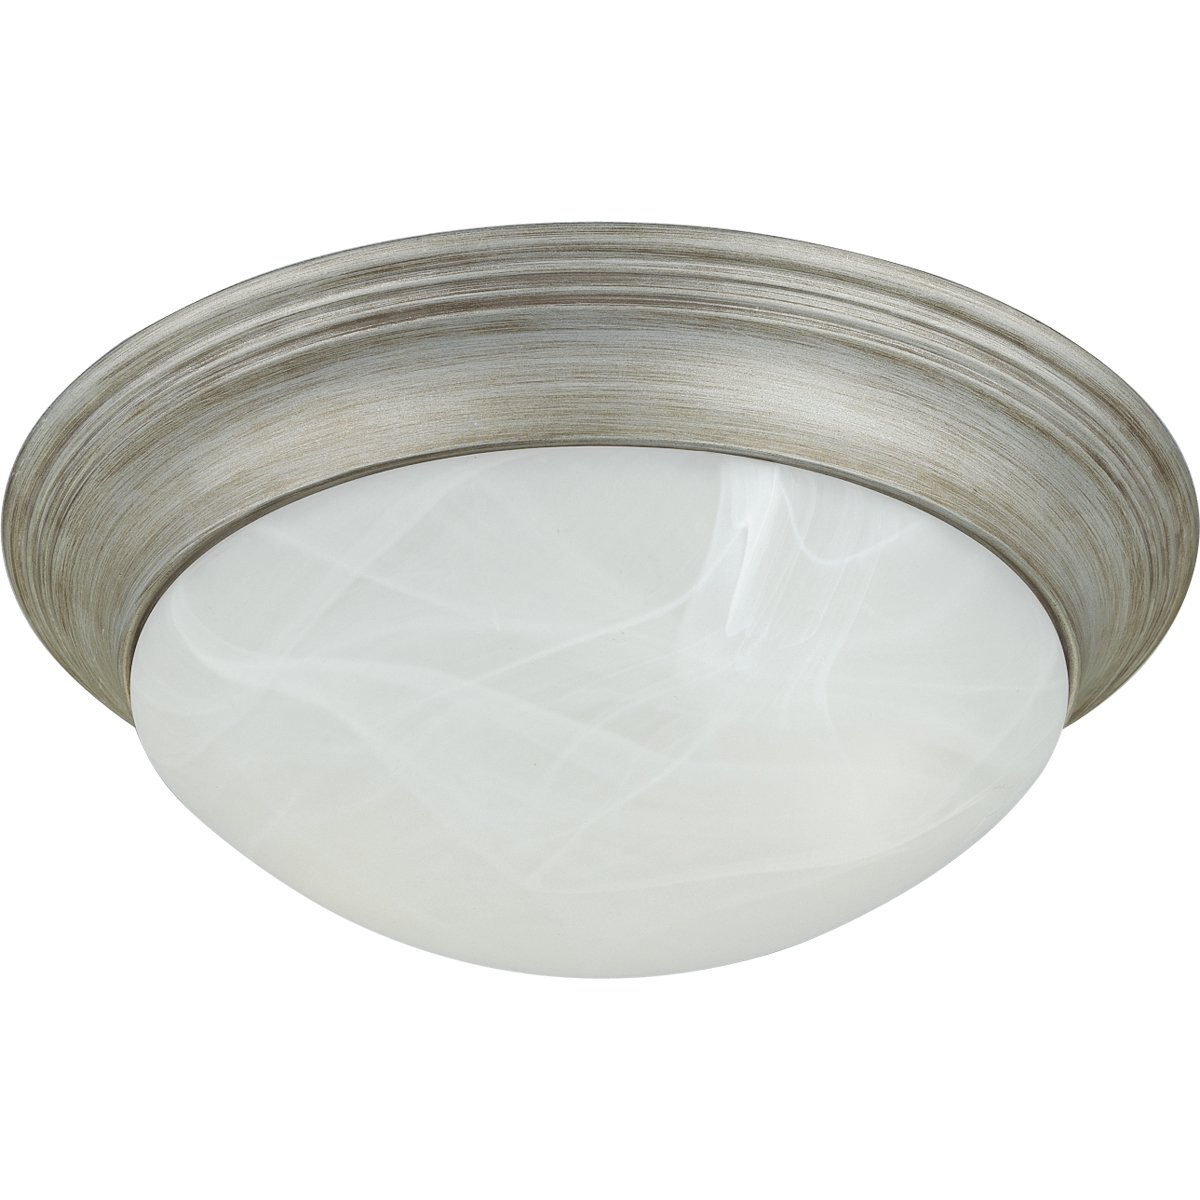
Image: The Progress Lighting P3689-44 Two-Light Close-to-Ceiling Fixture, showcasing its Oxford Silver finish and etched alabaster style glass shade. The fixture is designed for flush mounting to the ceiling.
Instrukcja obsługi
Once the fixture is fully installed and bulbs are in place, restore power at the main fuse box or circuit breaker. The fixture is operated via a standard wall switch (not included) connected to the circuit.
- Upewnij się, że masz poprawną moctage bulbs (max 60-watt medium base) are used to prevent overheating or damage.
- The fixture is designed for indoor use in dry locations only.
Konserwacja
Czyszczenie:
To clean the fixture, ensure power is turned off. Wipe the fixture with a soft, dry cloth. Do not use abrasive cleaners, polishes, or solvents as they may damage the finish or glass. For the glass shade, a mild glass cleaner can be used sparingly on a cloth, then wiped dry.
Wymiana żarówki:
To replace bulbs, turn off power at the circuit breaker. Gently twist the glass shade counter-clockwise to remove it. Unscrew the old bulbs and replace them with new 60-watt maximum medium base bulbs. Reattach the glass shade by twisting it clockwise until secure.
Rozwiązywanie problemów
| Problem | Możliwa przyczyna | Rozwiązanie |
|---|---|---|
| Światło się nie włącza. |
|
|
| Światło migocze. |
|
|
Specyfikacje
| Funkcja | Szczegół |
|---|---|
| Numer modelu | P3689-44 |
| Marka | Oświetlenie Progress |
| Skończyć | Oxford Silver |
| Rodzaj szkła | Etched Alabaster Style Glass |
| Wymiary (szerokość x wysokość) | 14 inches (W) x 4-3/4 inches (H) |
| Liczba świateł | 2 |
| Typ żarówki | Średnia podstawa (E26) |
| Maksymalna moctage na żarówkę | 60 watów |
| Tomtage | 120 wolty |
| Źródło zasilania | Elektryczny przewodowy |
| Tworzywo | Szkło, Metal |
| UPC | 785247368921 |
Gwarancja i wsparcie
Ta oprawa oświetleniowa Progress Lighting jest pokryta 1-letnia gwarancja producenta od daty zakupu. Niniejsza gwarancja obejmuje wady materiałowe i wykonawcze przy normalnym użytkowaniu.
For warranty claims, technical support, or replacement parts, please contact Progress Lighting customer service. Keep your purchase receipt as proof of purchase.
Progress Lighting Customer Service: Zapoznaj się z oficjalną instrukcją Progress Lighting webAktualne dane kontaktowe można znaleźć na stronie internetowej lub opakowaniu produktu.