
Wstęp
Welcome to the user manual for your SINGER 3116 Simple 18 Stitch Sewing Machine. This machine is designed for ease of use, making it ideal for new sewers while offering features that enhance your sewing experience. It includes 18 built-in stitches, an automatic needle threader, and a fully automatic one-step buttonhole. Please read this manual thoroughly before operating your machine to ensure safe and efficient use.
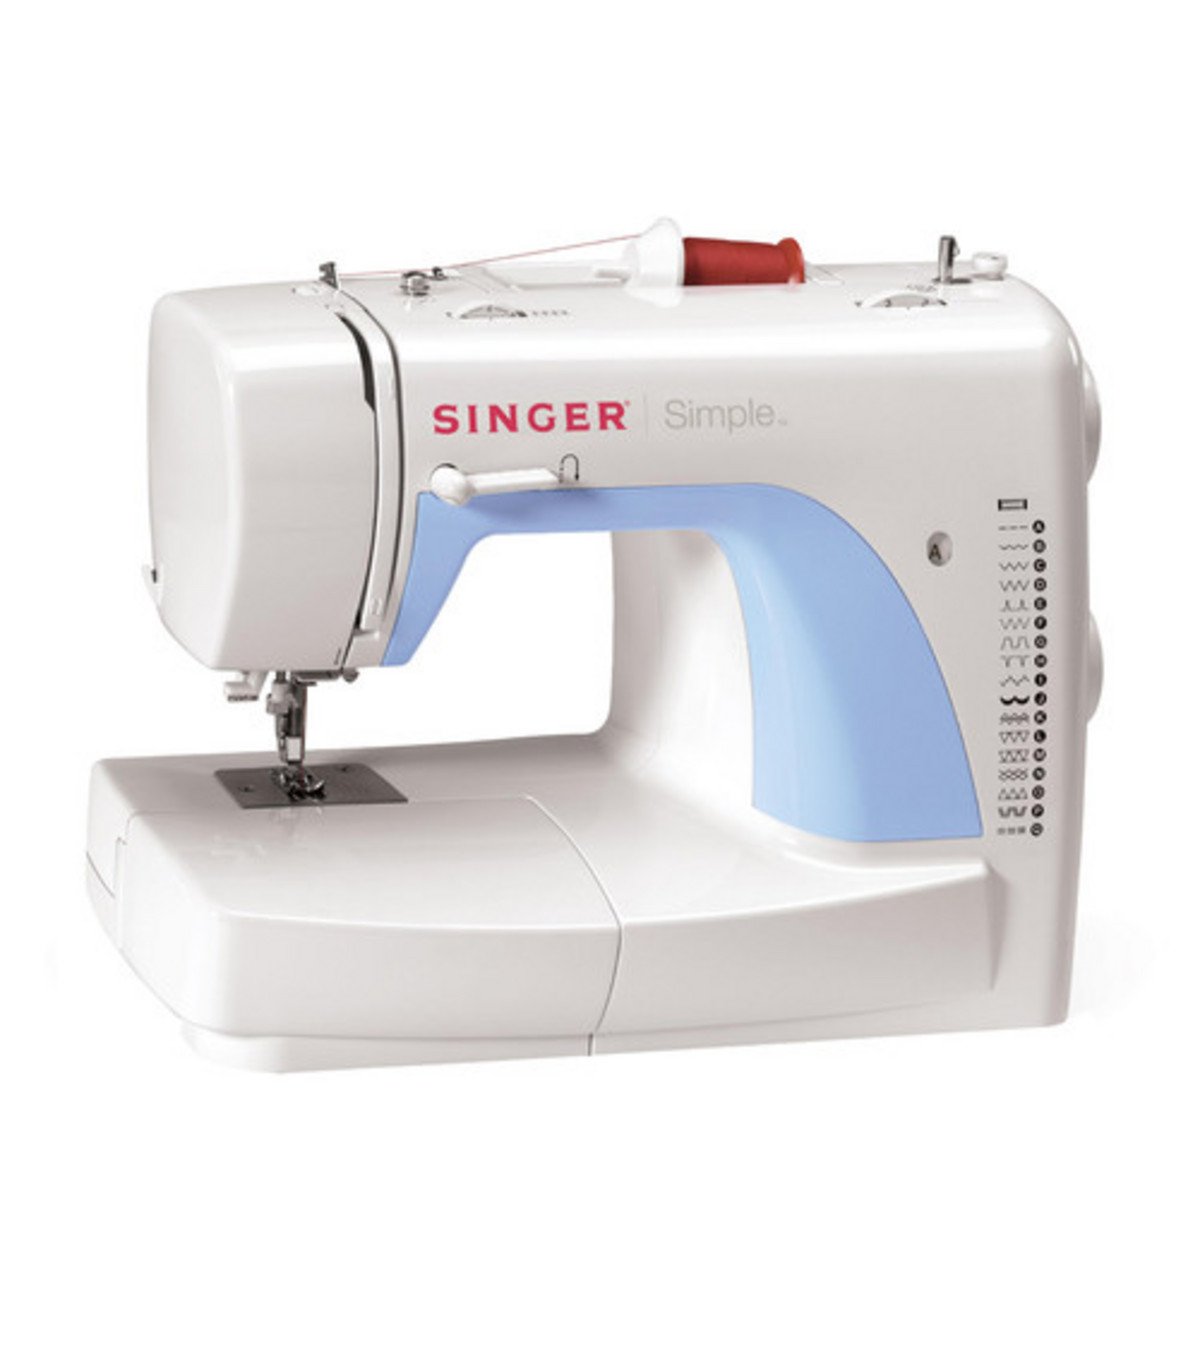
Rysunek 1: SINGER 3116 Simple 18 Stitch Sewing Machine. This image displays the front view of the sewing machine, highlighting its compact design and stitch selection dial.
Organizować coś
1. Rozpakowanie i ustawienie
Carefully remove the machine from its packaging. Place the machine on a stable, flat surface. Ensure there is adequate lighting and space for your sewing projects.
2. Podłączenie zasilania
- Włóż wtyczkę urządzenia do gniazdka zasilania urządzenia.
- Podłącz przewód zasilający do odpowiedniego gniazdka elektrycznego.
- The machine is designed for corded electric operation.
3. Nawijanie szpulki
- Nawiń szpulkę nici na trzpień szpulki.
- Przeprowadź nić przez górny prowadnik nici i wokół tarczy naprężającej szpulkę.
- Place an empty Class 15 bobbin onto the bobbin winder spindle.
- Nawiń nić kilka razy ręcznie wokół szpulki.
- Przesuń wrzeciono nawijacza szpulki dolnej w prawo.
- Press the foot controller gently to start winding. The machine will stop automatically when the bobbin is full.
- Odetnij nić i przesuń wrzeciono nawijacza szpulki w lewo.
4. Wkładanie szpulki
- Otwórz pokrywę szpulki.
- Włóż nawiniętą szpulkę do bębenka, upewniając się, że nić odwija się we właściwym kierunku (zazwyczaj przeciwnie do ruchu wskazówek zegara).
- Przeprowadź nić przez sprężynę napinającą do prowadnika nici.
- Zamknij pokrywę szpulki.
5. Nawlekanie górnej nici
- Podnieś igłę do najwyższej pozycji za pomocą koła ręcznego.
- Nawiń szpulkę nici na trzpień szpulki.
- Przeprowadź nić przez górny prowadnik nici.
- Bring the thread down through the right threading channel.
- Loop the thread up through the left threading channel and over the take-up lever.
- Przeprowadź nić przez prowadnik nici igielnicy.
- Use the automatic needle threader (refer to the "Automatic Needle Threader" section for detailed instructions) or manually thread the needle from front to back.
- Przeciągnij około 6 cm nici przez ucho igły.
Instrukcja obsługi
1. Wybór ściegu
Turn the stitch selector dial to choose one of the 18 built-in stitches. The machine offers basic, stretch, and decorative stitches. Refer to the stitch chart on the machine for visual guidance.
2. Podstawowe szycie
- Umieść materiał pod stopką.
- Opuść dźwignię stopki dociskowej.
- Delikatnie naciśnij pedał, aby rozpocząć szycie. Prędkość szycia jest kontrolowana poprzez nacisk na pedał.
- To reverse stitch, press and hold the reverse lever/button.
- When finished, raise the needle to its highest position, lift the presser foot, and remove the fabric. Cut the threads using the thread cutter.
3. Automatyczny nawlekacz igły
The automatic needle threader simplifies threading the needle. Ensure the needle is in its highest position. Lower the threader mechanism, hook the thread, and release. The thread will be pulled through the needle eye.
4. One-Step Buttonhole
- Attach the one-step buttonhole foot.
- Umieść guzik, którego zamierzasz użyć, w uchwycie stopki do dziurek.
- Select the buttonhole stitch on the dial.
- Lower the presser foot and begin sewing. The machine will automatically sew the buttonhole to the correct size.
Konserwacja
1. Czyszczenie maszyny
- Zawsze odłączaj urządzenie przed czyszczeniem.
- Zdejmij płytkę ściegową i bębenek.
- Use the small brush provided (or a soft brush) to remove lint and dust from the feed dogs and bobbin area.
- Wipe the exterior of the machine with a soft, dry cloth. Do not use liquid cleaners.
2. Wymiana igły
- Replace the needle regularly, especially if it becomes bent, dull, or if you notice skipped stitches.
- Poluzuj igłę clamp screw, remove the old needle, and insert a new one with the flat side facing the back of the machine.
- Dokręć igłęamp dobrze przykręcić.
Rozwiązywanie problemów
| Problem | Możliwa przyczyna | Rozwiązanie |
|---|---|---|
| Maszyna nie uruchamia się | Power cord not connected; machine switched off. | Ensure power cord is securely plugged in; turn on the power switch. |
| Pominięte szwy | Incorrect needle; bent needle; improper threading. | Replace needle with the correct type and size; re-thread the machine correctly. |
| Zerwanie wątku | Improper threading; tension too tight; poor quality thread; bent needle. | Re-thread machine; adjust tension; use good quality thread; replace needle. |
| Tkanina nie jest podawana | Feed dogs lowered; lint accumulation. | Raise feed dogs; clean feed dog area. |
| Looped stitches (bottom) | Upper thread not correctly threaded through tension discs. | Re-thread the upper thread, ensuring it is seated correctly in the tension discs with the presser foot raised. |
Specyfikacje
- Model: SINGER 3116CL Simple
- Liczba ściegów: 18 Built-in Stitches (Basic, Stretch, Decorative)
- Typ dziurki: 1-Step (Unistyle)
- Bobbin Class: 15
- Thread Delivery: Poziomy
- Regulowane ciśnienie: Tak
- Przechowywanie akcesoriów: Wbudowany
- Wymiary produktu: 18.2 x 10.5 x 13.8 cala
- Waga przedmiotu: 3 funta
- Źródło zasilania: Elektryczny przewodowy
- Tworzywo: Plastikowy
- Kolor: Biały
- Kod UPC: 037431881069
Gwarancja i wsparcie
For specific warranty information, please refer to the warranty card included with your product or visit the official SINGER website. For technical support, replacement parts, or service inquiries, please contact SINGER customer service. Keep your purchase receipt as proof of purchase for warranty claims.
Producent: Piosenkarz