1. Wprowadzenie
This manual provides essential information for the safe and efficient operation of your Technaxx Wireless CarPlay & Android Car Monitor TX-361. Please read this manual thoroughly before using the device and retain it for future reference. The TX-361 is designed to integrate modern smartphone connectivity, including Apple CarPlay and Android Auto, into your vehicle without requiring a complex car radio replacement. It also features an integrated DAB digital radio for enhanced audio experience.
2. Informacje dotyczące bezpieczeństwa
- Zawsze korzystaj z urządzenia odpowiedzialnie i zgodnie z lokalnymi przepisami ruchu drogowego. Rozproszenie uwagi podczas jazdy może prowadzić do wypadków.
- Nie należy podejmować prób demontażu ani modyfikacji urządzenia. Może to spowodować unieważnienie gwarancji i zagrożenie bezpieczeństwa.
- Trzymaj urządzenie z dala od ekstremalnych temperatur, bezpośredniego światła słonecznego i wilgoci.
- Upewnij się, że urządzenie jest bezpiecznie zamontowane i nie przeszkadza. view lub zakłócać sterowanie pojazdem.
- Należy używać wyłącznie dostarczonego kabla zasilającego i akcesoriów.
- If the device malfunctions, disconnect it from the power source and contact customer support.
3. Zawartość opakowania
Sprawdź, czy w przesyłce znajdują się wszystkie elementy wymienione poniżej:
- DAB 7-inch CarPlay with Touch Screen TX-361
- Power Supply (USB-A to USB-C, 1.5m cable)
- Kabel AUX (1 m)
- Antena DAB
- Holder (Mounting Bracket)
- Instrukcja obsługi
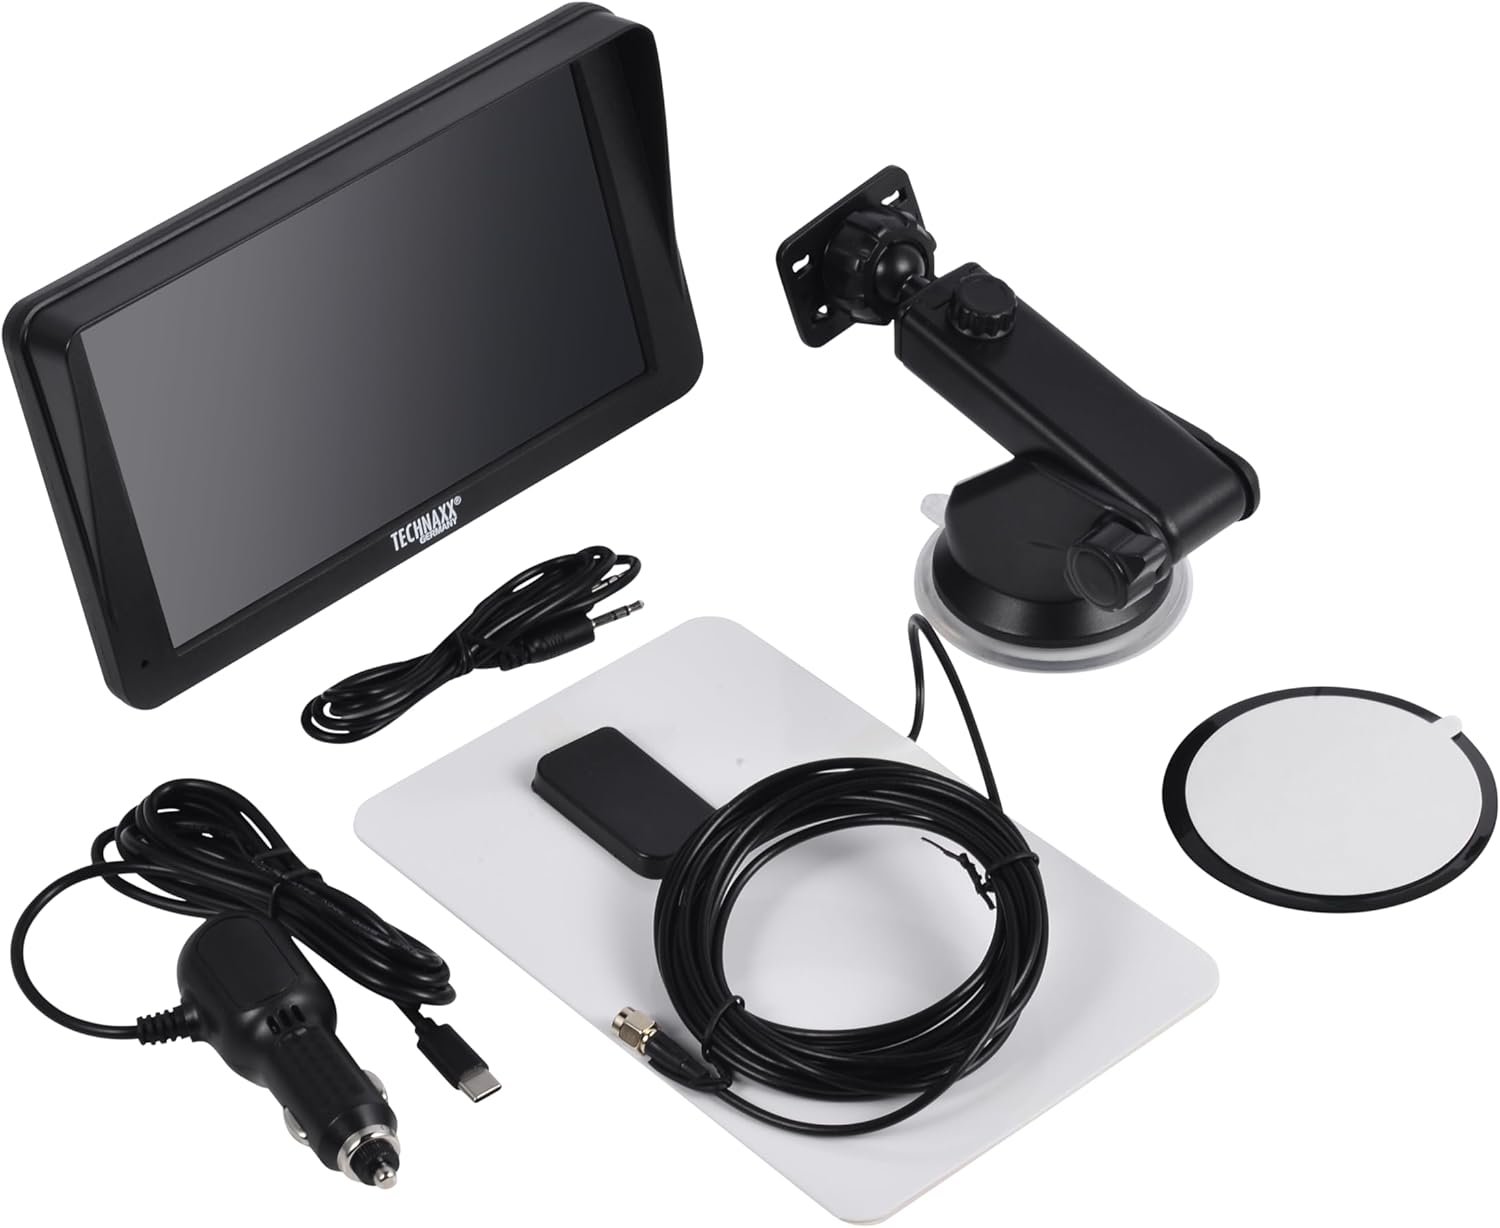
Image: All components included in the Technaxx TX-361 package, neatly laid out.
4. Koniec produktuview
Familiarize yourself with the main components of your TX-361 monitor.
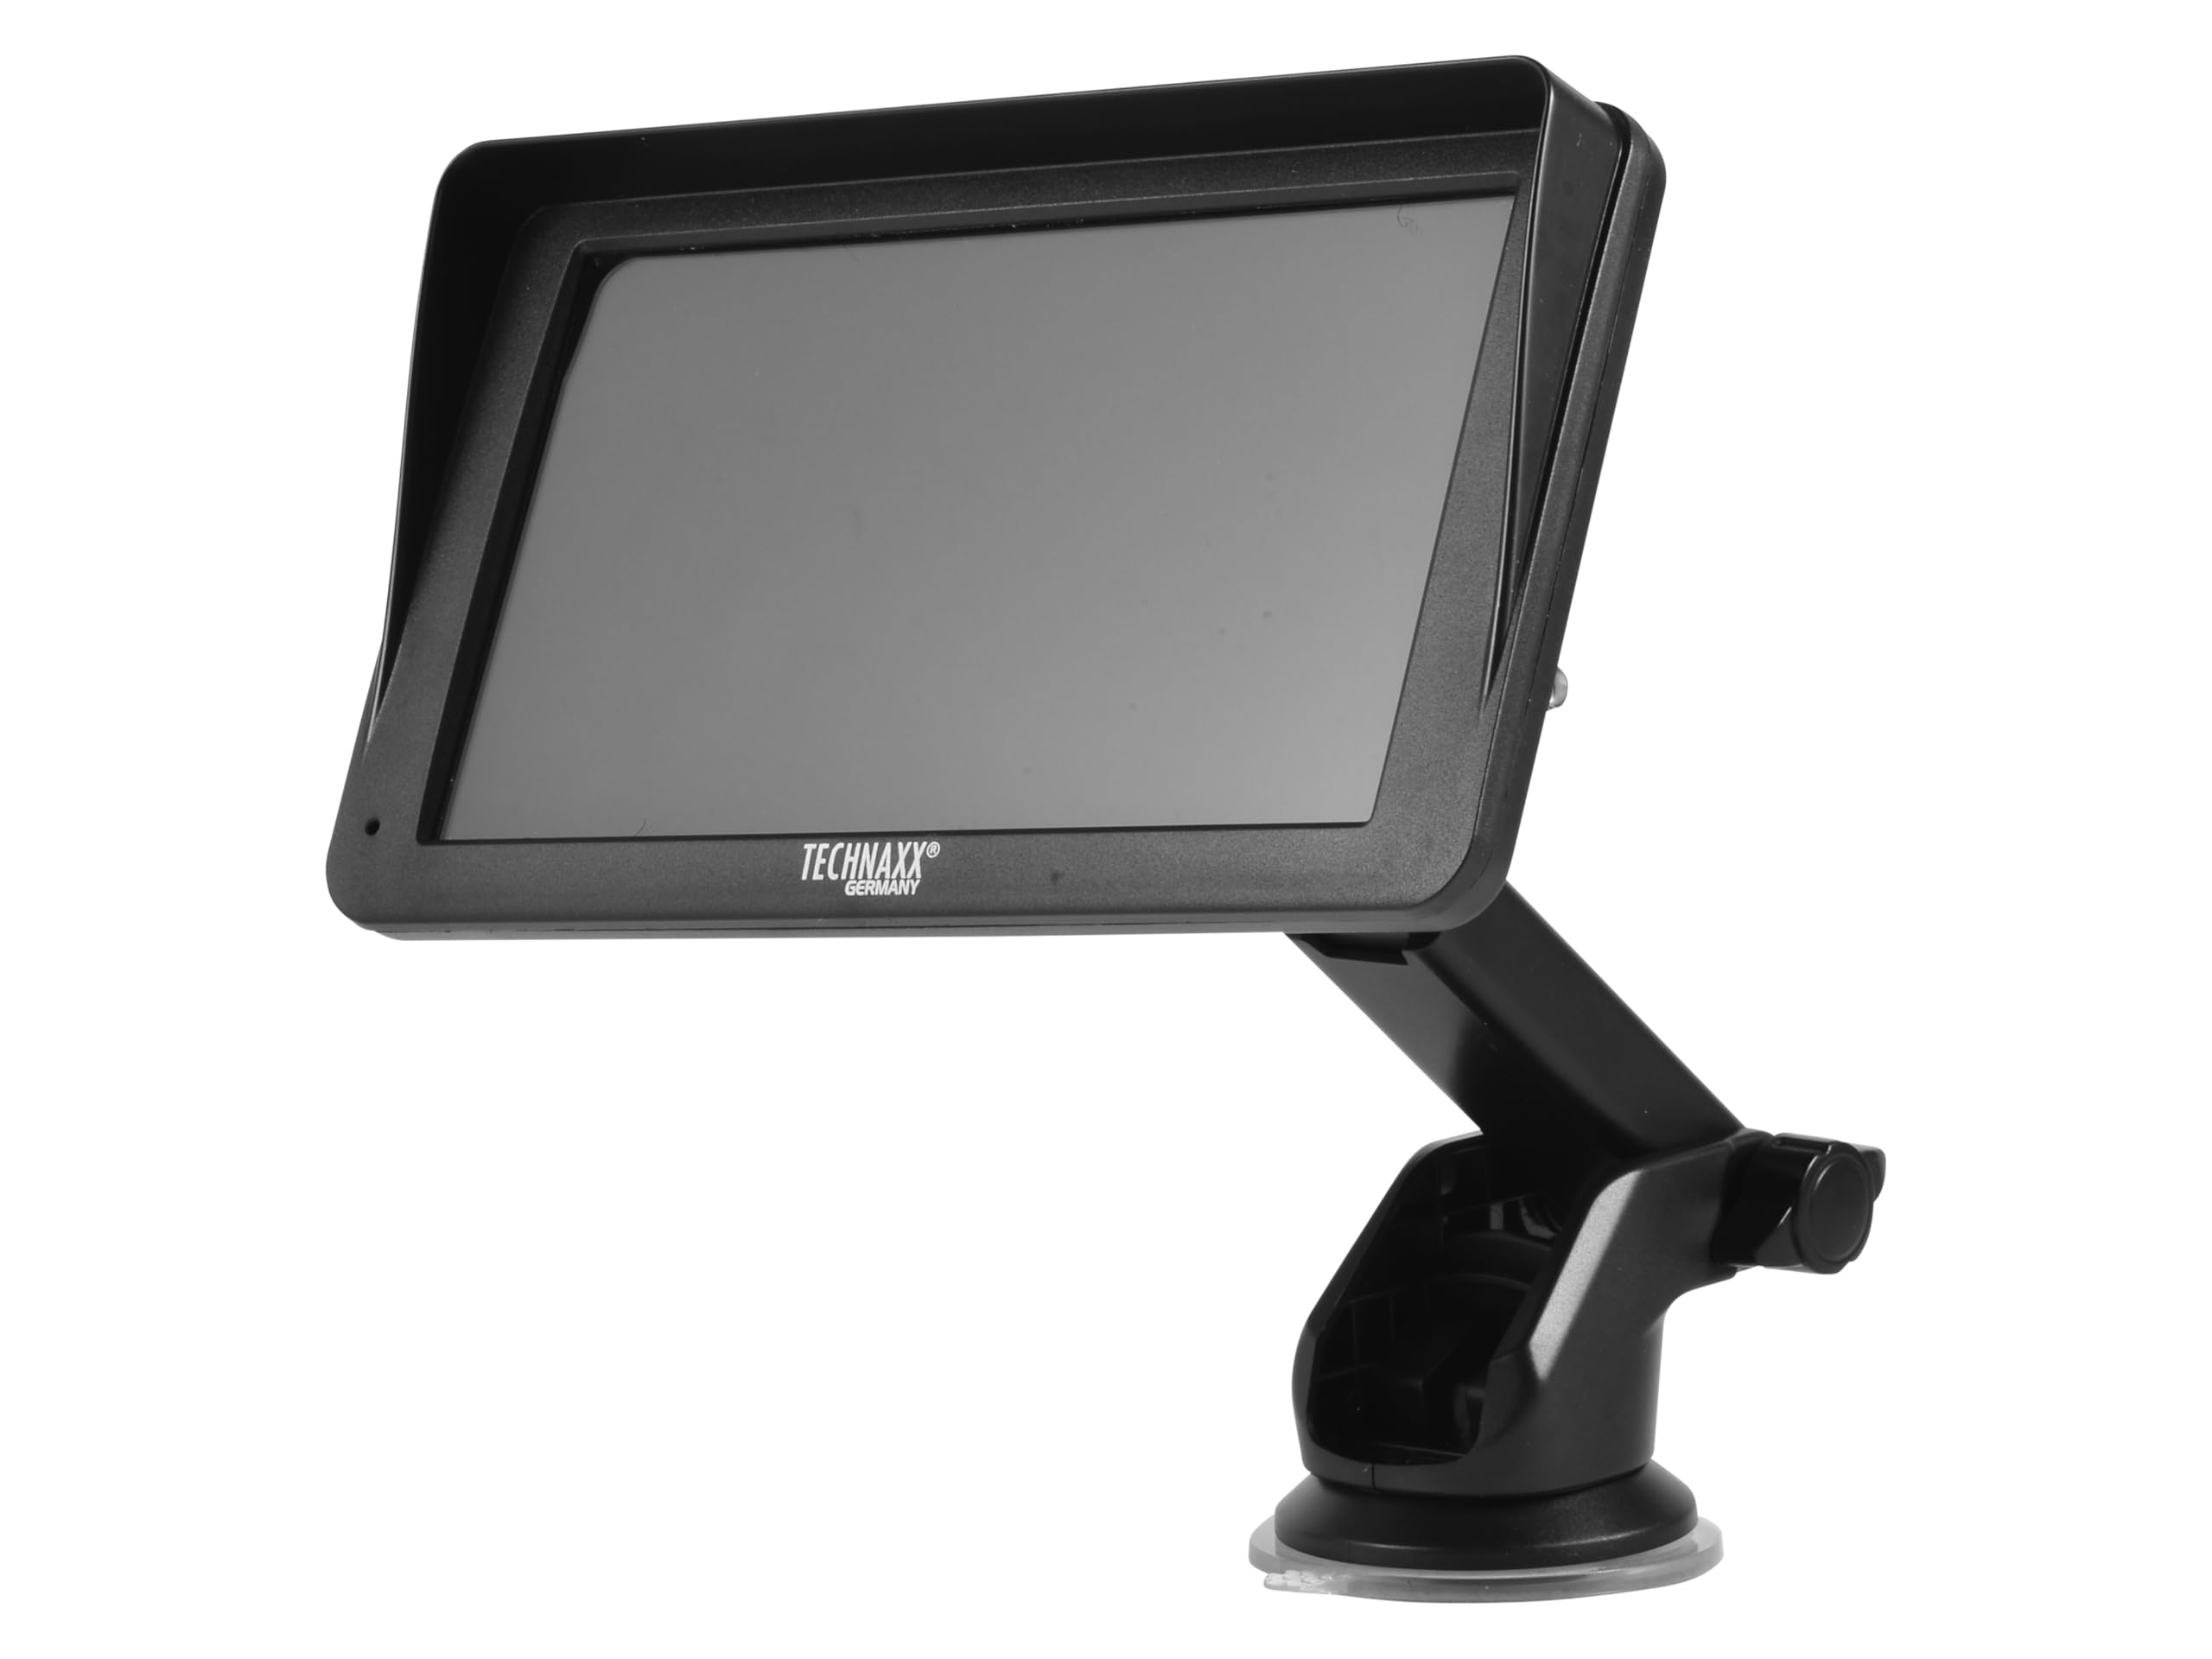
Obraz: Przód view of the TX-361 monitor with its 7-inch display and 'TECHN AXX GERMANY' branding, attached to the adjustable mounting stand.

Obraz: Tył view of the TX-361 monitor, highlighting the ventilation grilles and the attachment point for the mounting bracket.

Obraz: Szczegółowy view of the right side of the TX-361 monitor, showing the power button, reset button, USB-C power input, AUX output, and USB-A port.
4.1. Komponenty urządzenia
- 7-calowy pojemnościowy ekran dotykowy: Main display for all functions.
- Przycisk zasilania: Znajduje się w prawym górnym rogu.
- Przycisk resetowania: Mały przycisk z otworem szpilkowym do resetowania systemu.
- Port USB-C: Do wejścia zasilania.
- Wyjście AUX: 3.5mm jack for wired audio transmission.
- Port USB-A: For media playback or charging external devices.
- DAB Antenna Input: Connector for the external DAB antenna.
- Zintegrowany głośnik: Do bezpośredniego odtwarzania dźwięku.
5. Konfiguracja
5.1. Montaż urządzenia
The TX-361 can be mounted on your vehicle's windscreen or dashboard using the provided holder.
- Zamontuj monitor w uchwycie montażowym.
- For Windscreen Mounting: Clean the desired area on the windscreen. Press the suction cup firmly against the glass and engage the lever to secure it.
- For Dashboard Mounting: Clean the desired area on the dashboard. If necessary, use the adhesive disc provided for a more secure attachment point for the suction cup. Press the suction cup firmly and engage the lever.
- Dostosuj kąt monitora, aby uzyskać optymalny viewnie utrudniając jazdy view.

Image: The TX-361 monitor securely mounted on a car dashboard, showing its position relative to the driver's view.

Image: The TX-361 monitor mounted on a car windscreen, demonstrating an alternative placement option.
5.2. Podłączenie zasilania
- Connect the USB-C end of the power cable to the USB-C port on the monitor.
- Plug the USB-A end of the power cable into the provided 12V/24V cigarette lighter adapter.
- Insert the cigarette lighter adapter into your vehicle's 12V/24V power socket. The device will power on automatically or can be turned on using the power button.
5.3. DAB Antenna Connection
For optimal DAB radio reception, connect the included DAB antenna:
- Connect the DAB antenna cable to the dedicated DAB antenna input on the monitor.
- Mount the DAB antenna on your windscreen or another suitable location, ensuring it has clear line of sight for best signal reception.
6. Instrukcja obsługi
6.1. Włączanie/wyłączanie zasilania
- Włączanie: The device typically powers on automatically when connected to the vehicle's power. If not, press and hold the power button on the top right side.
- Wyłączone: Press and hold the power button until the device shuts down. A short press will turn the screen off/on.
6.2. Initial Setup and Smartphone Connection
The TX-361 supports wireless Apple CarPlay and Android Auto via Wi-Fi and Bluetooth 5.0.
- Upewnij się, że Wi-Fi i Bluetooth w Twoim smartfonie są włączone.
- On the TX-361 monitor, navigate to the CarPlay or Android Auto section.
- The monitor will display a Bluetooth name. On your smartphone, search for and connect to this Bluetooth device.
- Once connected via Bluetooth, the device will prompt you to enable Wi-Fi for CarPlay/Android Auto functionality. Confirm the connection on your phone.
- After successful pairing, Apple CarPlay or Android Auto will launch automatically on the monitor.
6.3. Obsługa ekranu dotykowego
The 7-inch capacitive touchscreen allows for intuitive control:
- Uzyskiwać: Wybierz elementy lub potwierdź działania.
- Trzepnąć: Navigate through menus or lists.
- Powiększanie za pomocą szczypania: (Where supported, e.g., in navigation apps) Adjust map zoom levels.
6.4. DAB Digital Radio
To use the integrated DAB digital radio:
- Ensure the DAB antenna is properly connected.
- From the main menu, select the 'DAB Radio' option.
- The device will automatically scan for available DAB stations.
- Wybierz interesującą Cię stację z listy.
6.5.Radio FM
For traditional FM radio reception:
- From the main menu, select the 'FM Radio' option.
- Użyj przycisków na ekranie, aby wyszukać stacje lub ręcznie dostroić się do częstotliwości.
6.6. Opcje wyjścia audio
The TX-361 offers several ways to transmit audio to your vehicle's sound system:
- Zintegrowany głośnik: Audio will play directly from the monitor's built-in speaker.
- Kabel AUX: Connect the provided 3.5mm AUX cable from the monitor's AUX output to your car's AUX input. Select 'AUX' as the input source on your car radio.
- Transmisja FM: Select an unused FM frequency on the TX-361 and tune your car radio to the same frequency. Audio will be transmitted wirelessly to your car's speakers.
7. Konserwacja
- Czyszczenie: Do czyszczenia ekranu i zewnętrznej części urządzenia należy używać miękkiej, suchej ściereczki. Nie należy używać środków czyszczących o właściwościach ściernych ani rozpuszczalników.
- Składowanie: Jeśli przechowujesz urządzenie przez dłuższy czas, odłącz je od zasilania i przechowuj w chłodnym, suchym miejscu.
- Aktualizacje oprogramowania: Okresowo sprawdzaj producenta webodwiedź naszą witrynę, aby sprawdzić, czy są dostępne aktualizacje oprogramowania sprzętowego, aby zapewnić optymalną wydajność.
8. Rozwiązywanie Problemów
| Problem | Możliwe rozwiązanie |
|---|---|
| Urządzenie nie włącza się. |
|
| Nie można połączyć się z CarPlay/Android Auto. |
|
| Poor DAB/FM radio reception. |
|
| Brak wyjścia audio. |
|
9. Specyfikacje
| Funkcja | Specyfikacja |
|---|---|
| Numer modelu | 5361 |
| Wyświetlacz | Pojemnościowy ekran dotykowy o przekątnej 7 cala |
| Technologia łączności | Wi-Fi (Dual-band 2.4 / 5 GHz), Bluetooth 5.0 |
| Cechy specjalne | Wireless CarPlay & Android Auto, DAB Digital Radio, FM Radio, Touchscreen Display |
| Zakres częstotliwości DAB | Band III: 174-240 MHz |
| Wyjście audio | AUX, FM Transmission, Integrated Speaker |
| Zasilacz | 12V/24V via Cigarette Lighter |
| Wymiary produktu (Gł. x Szer. x Wys.) | 18.8D x 10.8W x 3.5H centymetrów |
| Waga przedmiotu | 0.58 funta (około 263 gramów) |
10. Gwarancja i wsparcie
Technaxx products are covered by a manufacturer's warranty. For detailed warranty information, please refer to the warranty card included with your product or visit the official Technaxx website. For technical support, troubleshooting assistance, or service inquiries, please contact Technaxx customer support through their official channels.
Dodatkowe zasoby, często zadawane pytania i informacje kontaktowe można często znaleźć na stronie Technaxx official webstrona.