1. Wprowadzenie
This manual provides essential instructions for the proper installation and care of your FEL-PRO 60159 Carburetor Mounting Gasket. This gasket is designed to provide a reliable seal between the carburetor and the intake manifold, preventing vacuum leaks and ensuring optimal engine performance. Fel-Pro gaskets are engineered with application-specific materials to deliver dependable sealing solutions.
Cechy produktu:
- Engineered to meet or exceed all original equipment specifications.
- Designed for 100% vehicle sealing.
- Proprietary design, engineering, and manufacturing processes ensure high quality.
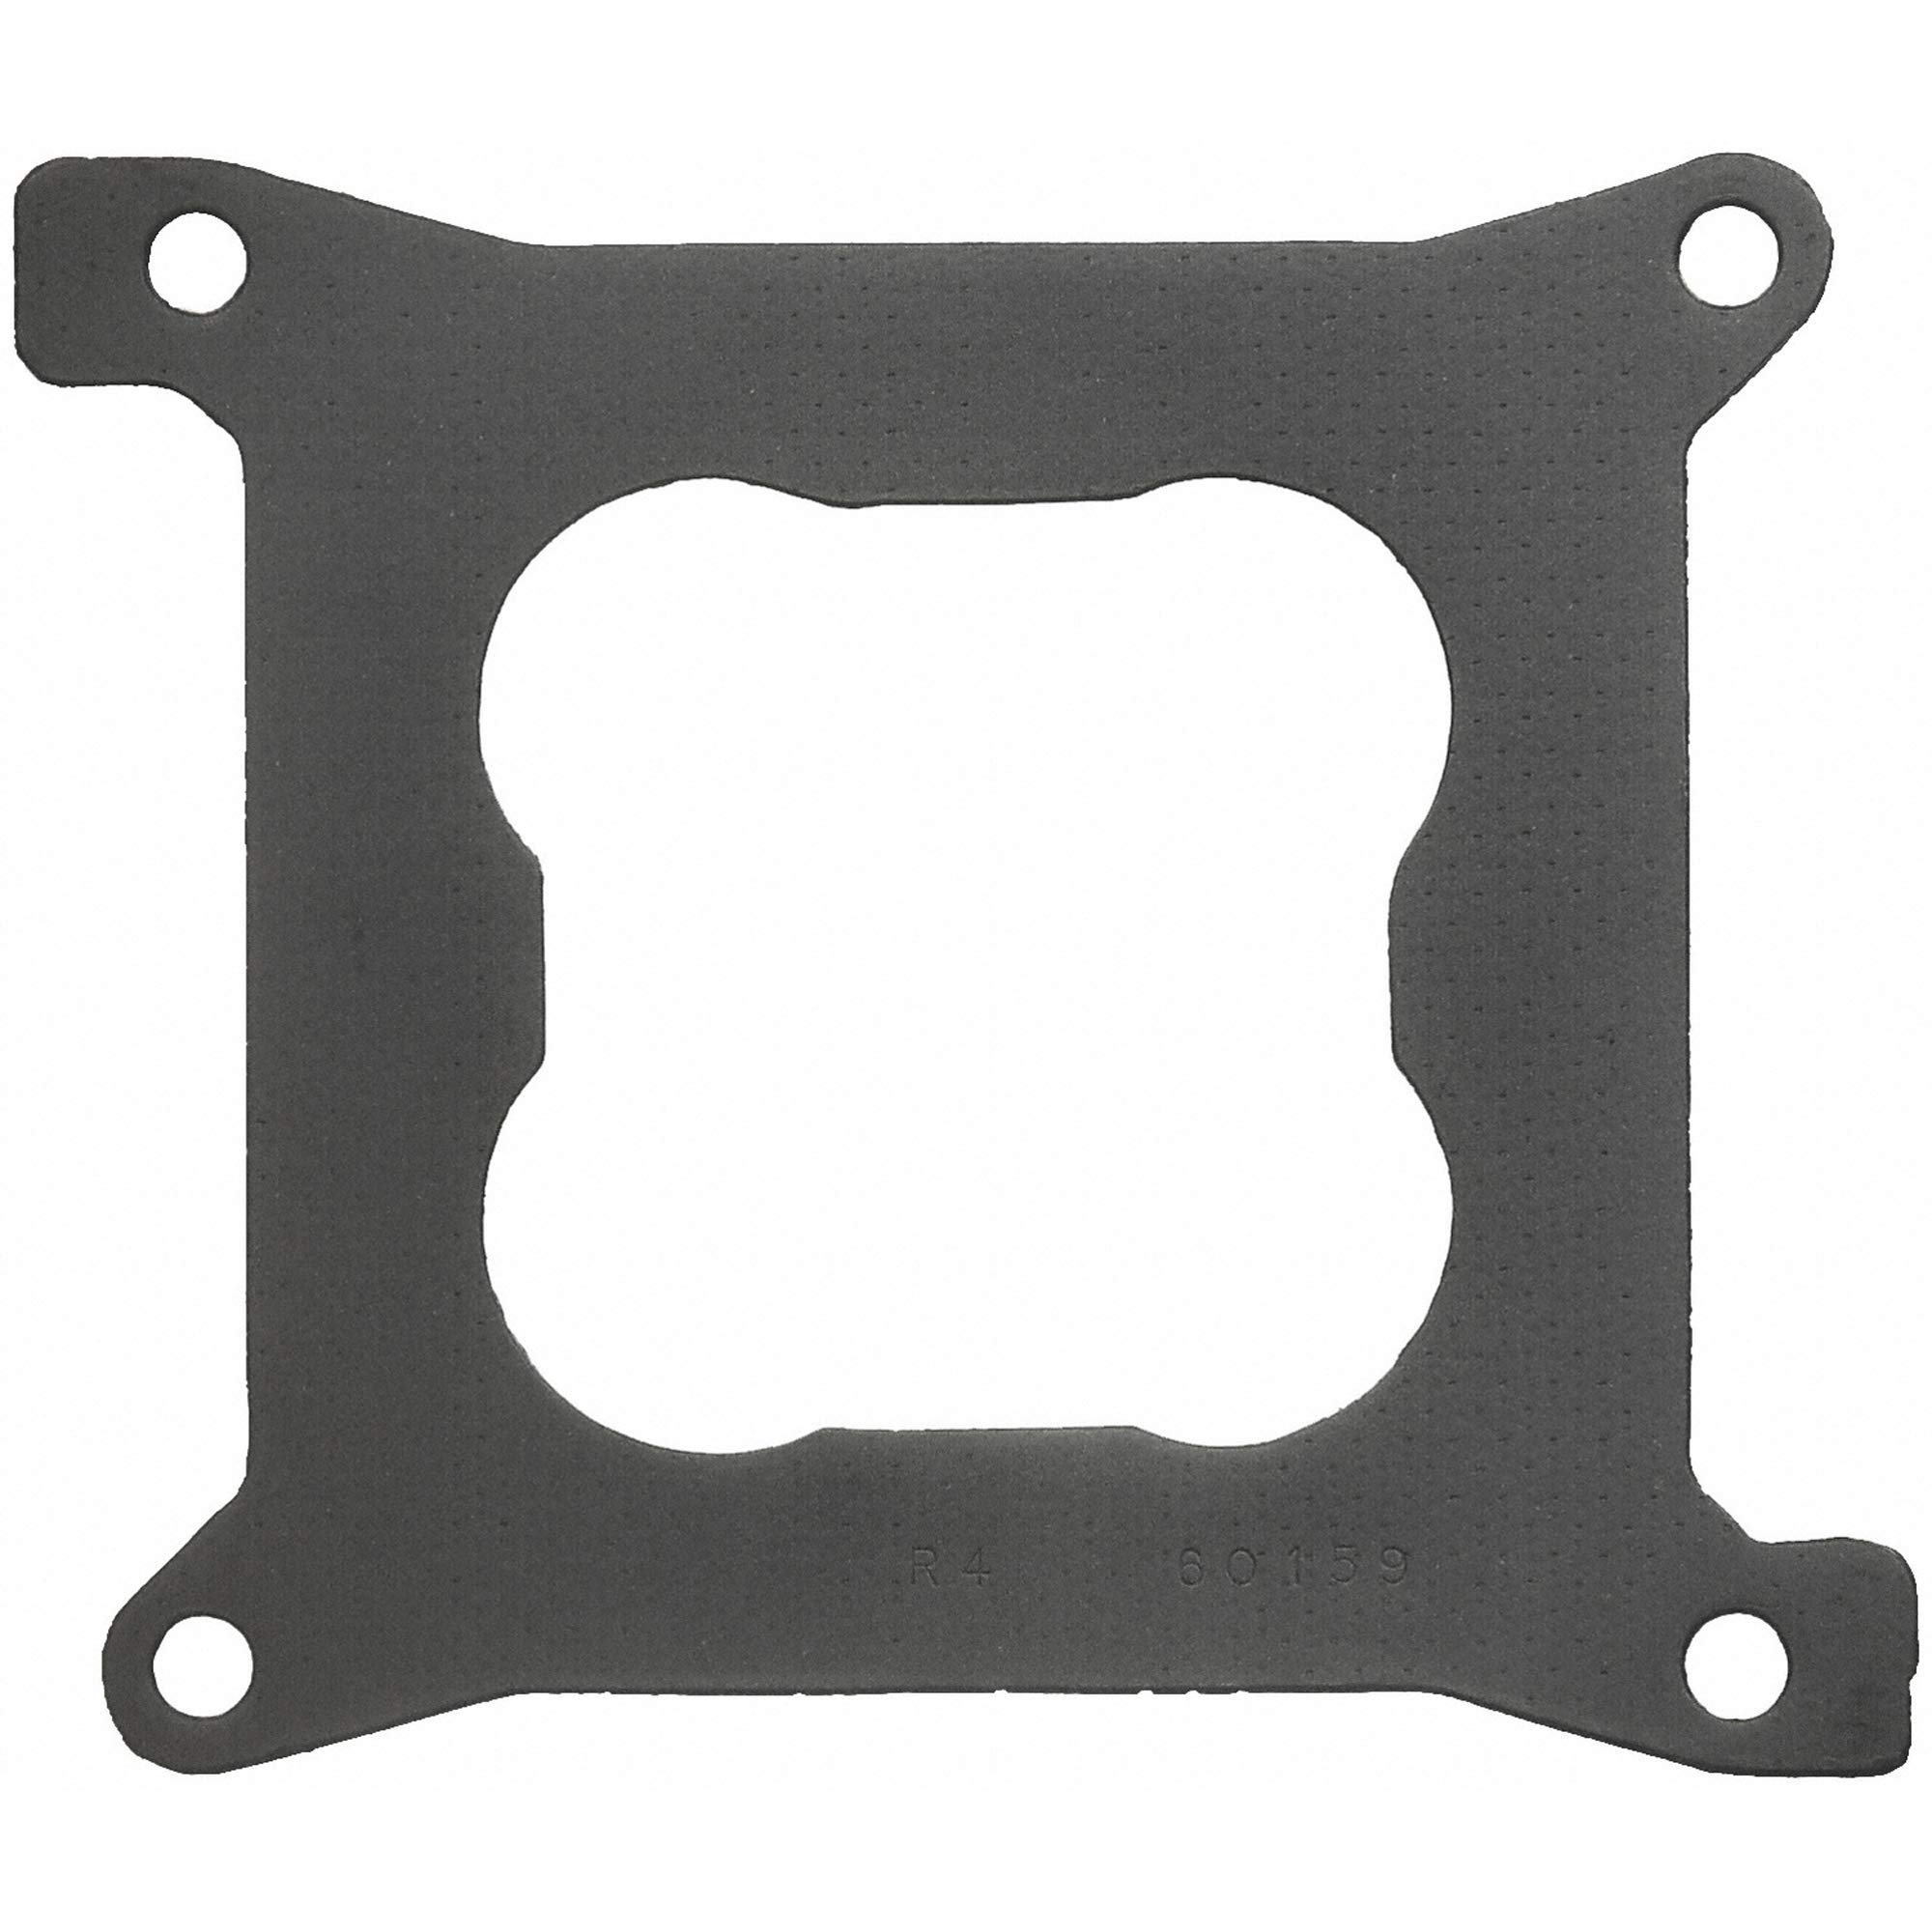
Image 1: FEL-PRO 60159 Carburetor Mounting Gasket. This image displays the gasket itself, highlighting its shape and material, ready for installation between the carburetor and intake manifold.
2. Instrukcje instalacji
Ważne informacje dotyczące bezpieczeństwa: Always wear appropriate personal protective equipment (PPE) such as safety glasses and gloves when working on your vehicle. Ensure the engine is cool and the battery is disconnected before beginning any work. Refer to your vehicle's specific service manual for detailed carburetor removal and installation procedures.
2.1 Wymagane narzędzia
- Zestaw kluczy nasadowych
- Śrubokręty
- Klucz dynamometryczny
- Gasket scraper or plastic razor blade
- Czyste szmaty
- Carburetor cleaner (optional)
2.2 Kroki instalacji
- Przygotowanie: Disconnect the negative terminal of the vehicle's battery. Allow the engine to cool completely.
- Wyjmij filtr powietrza: Detach the air cleaner assembly from the carburetor.
- Odłącz komponenty: Carefully disconnect all fuel lines, vacuum lines, electrical connectors, and throttle linkage from the carburetor. Label them if necessary to aid reassembly.
- Remove Carburetor: Loosen and remove the nuts or bolts securing the carburetor to the intake manifold. Carefully lift the carburetor off the manifold.
- Czyszczenie powierzchni montażowych: Thoroughly clean both the intake manifold and carburetor mounting surfaces. Use a gasket scraper or plastic razor blade to remove all traces of the old gasket material. Ensure surfaces are smooth, dry, and free of debris or oil. Do not scratch or gouge the mating surfaces.
- Umieść nową uszczelkę: Place the new FEL-PRO 60159 Carburetor Mounting Gasket onto the intake manifold studs, ensuring it aligns correctly with all bolt holes and passages.
- Install Carburetor: Carefully lower the carburetor onto the new gasket and intake manifold studs.
- Zabezpiecz gaźnik: Install the carburetor mounting nuts or bolts. Tighten them gradually and evenly in a crisscross pattern to the manufacturer's specified torque settings. Overtightening can damage the gasket or carburetor.
- Ponowne podłączenie komponentów: Reconnect all fuel lines, vacuum lines, electrical connectors, and throttle linkage that were previously removed. Double-check all connections for security.
- Install Air Cleaner: Zamontuj ponownie zespół filtra powietrza.
- Podłącz ponownie akumulator: Podłącz ponownie zacisk ujemny akumulatora pojazdu.
3. Kontrole po instalacji
After installing the gasket and reassembling the components, perform the following checks:
- Kontrola wizualna: Ensure all connections are secure and there are no visible leaks around the carburetor base.
- Uruchom silnik: Uruchom silnik i poczekaj, aż osiągnie temperaturę roboczą.
- Sprawdź, czy nie ma wycieków: While the engine is running, carefully check for any fuel or vacuum leaks around the carburetor base. Listen for hissing sounds indicating a vacuum leak.
- Jazda próbna: Perform a short test drive to ensure proper engine operation and responsiveness.
4. Konserwacja
Carburetor mounting gaskets are generally maintenance-free components once properly installed. However, it is advisable to periodically inspect the area around the carburetor base for any signs of leaks or deterioration, especially during routine engine maintenance. If any leaks are detected, the gasket may need to be replaced.
5. Rozwiązywanie Problemów
If you experience issues after installing the FEL-PRO 60159 Carburetor Mounting Gasket, consider the following:
- Vacuum Leaks (Hissing Sound, Rough Idle):
- Ensure carburetor mounting bolts are tightened to specification.
- Verify that the gasket is correctly seated and not pinched or damaged.
- Check for other potential vacuum leaks in connected hoses.
- Wycieki paliwa:
- Confirm fuel lines are securely connected and not damaged.
- Re-check carburetor mounting bolt torque.
- Inspect the gasket for any tears or improper seating.
- Poor Engine Performance (Stalling, Hesitation):
- A significant vacuum leak can cause these symptoms. Re-evaluate the gasket installation and check for leaks.
- Ensure all vacuum lines and electrical connections to the carburetor are properly reconnected.
Jeśli podjęcie prób rozwiązania problemu nie przyniesie rezultatu, zaleca się konsultację z wykwalifikowanym mechanikiem samochodowym.
6. Specyfikacje
| Atrybut | Szczegół |
|---|---|
| Marka | Fel-Pro |
| Numer modelu | 60159 |
| ASIN | B000C2ACTK |
| GTIN/UPC | 084113804120 |
| Kraj pochodzenia | USA |
| Waga przedmiotu | 45 gramów |
| Liczba jednostek | 1 Liczba |
| Zgodność | Fits various Chrysler models (e.g., 1967-1971 Chrysler 300, Imperial, New Yorker) and Dodge Dart. Always verify fitment for your specific vehicle. |
7. Informacje o gwarancji
For detailed warranty information regarding the FEL-PRO 60159 Carburetor Mounting Gasket, please refer to the official Fel-Pro manufacturer's webOdwiedź stronę internetową lub skontaktuj się bezpośrednio z działem obsługi klienta. Warunki gwarancji mogą się różnić.
8. Wsparcie i kontakt
If you require further assistance or have questions not covered in this manual, please visit the official Fel-Pro website for support resources, FAQs, and contact information. Always provide your product model number (60159) when seeking support.
Fel-Pro Official Webstrona: www.felpro.com