Wstęp
This manual provides detailed instructions for the installation, operation, and maintenance of your DB DRIVE A3 2250.5 Okur Series A3 Class AB 1000 Watt 5-Channel Amplifier. Przed przystąpieniem do instalacji lub użytkowania należy dokładnie przeczytać niniejszą instrukcję, aby zapewnić prawidłowe użytkowanie i zapobiec uszkodzeniu urządzenia lub systemu audio pojazdu.
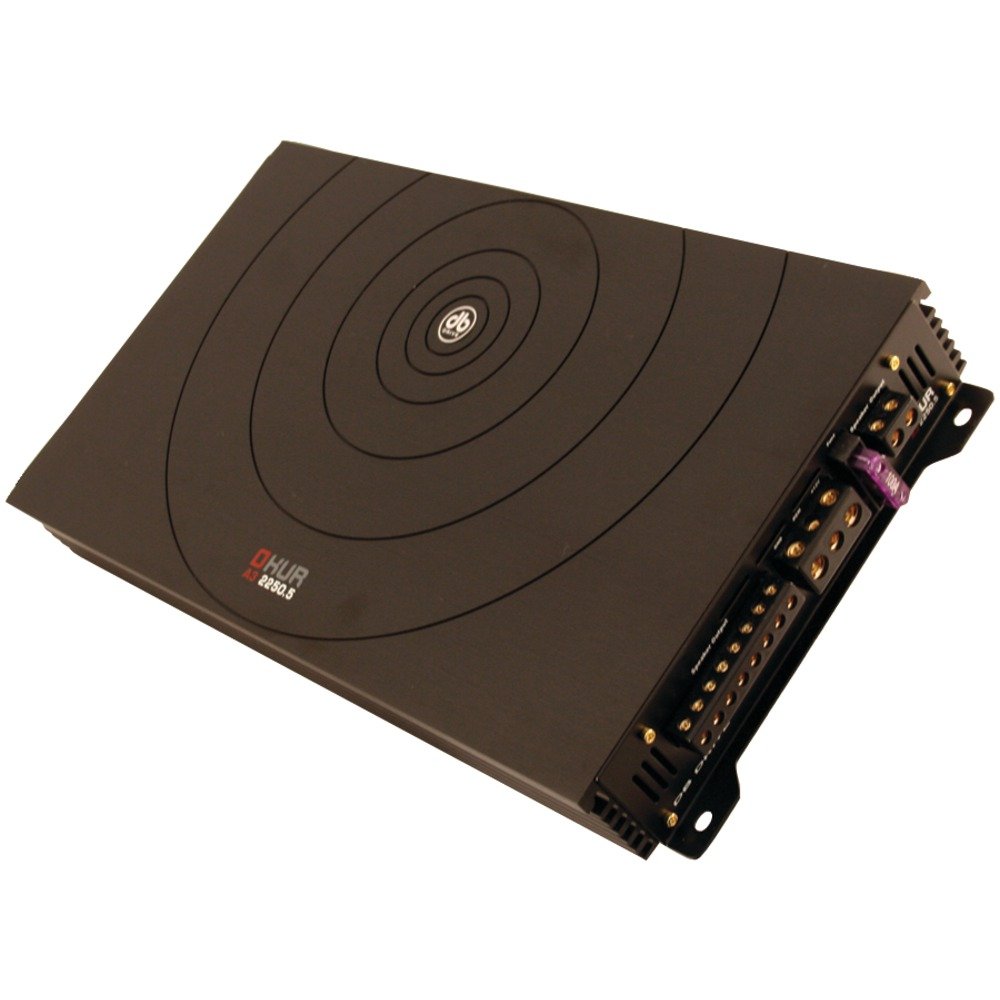
Image: DB DRIVE A3 2250.5 Okur Series A3 Class AB 1000 Watt 5-Channel Amplifier. Na tym obrazku widać amplifier's top view, highlighting its compact design and branding.
Informacje dotyczące bezpieczeństwa
Aby zapobiec obrażeniom lub uszkodzeniom, należy zawsze przestrzegać następujących środków ostrożności:
- Disconnect the vehicle's battery negative terminal before making any power connections.
- Ensure all wiring is properly routed and secured to prevent pinching or short circuits.
- Do połączeń zasilania i uziemienia należy stosować przewody o odpowiednim przekroju, zgodnie ze specyfikacją podaną w części dotyczącej instalacji.
- Zainstaluj ampumieścić w miejscu zapewniającym odpowiednią wentylację, aby zapobiec przegrzaniu.
- Unikaj instalowania amplifier in areas exposed to moisture or excessive vibration.
- Jeśli masz jakiekolwiek wątpliwości co do któregokolwiek etapu procesu instalacji, skonsultuj się z profesjonalnym instalatorem sprzętu car audio.
Konfiguracja i instalacja
1. Rozpakowanie i kontrola
Ostrożnie usuń amplifier from its packaging. Inspect the unit for any signs of damage that may have occurred during shipping. Contact your dealer immediately if any damage is found.
2. Montaż Ampżywsze
Choose a mounting location that is dry, well-ventilated, and secure. Common locations include under a seat, in the trunk, or behind a panel. Ensure there is sufficient airflow around the ampradiatora lifiera.
- Zaznacz otwory montażowe za pomocą amplifier jako szablon.
- Drill pilot holes if necessary, being careful not to damage any vehicle components.
- Zabezpiecz amplifier przy użyciu dołączonych śrub montażowych.
3. Połączenia okablowania
Proper wiring is crucial for performance and safety. Refer to the following guidelines:
- Moc (BATT+): Connect a heavy-gauge wire (e.g., 4 AWG or 8 AWG depending on total power) directly from the positive terminal of the vehicle's battery. Install an inline fuse holder within 18 inches (45 cm) of the battery.
- Uziemienie (GND): Connect a heavy-gauge wire of the same size as the power wire to a clean, unpainted metal surface of the vehicle's chassis. Ensure a solid, low-resistance connection.
- Zdalny (REM): Connect a smaller gauge wire (e.g., 18 AWG) from the amplifier's remote terminal to the remote output of your head unit. This turns the ampwłączanie i wyłączanie liifiera za pomocą jednostki głównej.
- Wejścia RCA: Podłącz kable RCA do gniazda wyjściowego jednostki głównej.amp wyjścia do amplifier's RCA input jacks. Ensure correct channel matching (Front L/R, Rear L/R, Sub).
- Wyjścia głośnikowe: Connect speaker wires from the amplifier's speaker terminals to your speakers. Observe correct polarity (+ to + and - to -). This is a 5-channel amplifier, typically 4 channels for full-range speakers and 1 channel for a subwoofer.
4. Gain, Crossover, and Bass Boost Settings
These settings allow you to fine-tune the amplifier's output to match your audio system and preferences.
- Kontrola wzmocnienia: Adjust the gain to match the output voltage of your head unit. Start with the gain at minimum, then slowly increase it until you hear distortion, then back off slightly. This is not a volume control.
- Crossover (LPF/HPF):
- Filtr dolnoprzepustowy (LPF): For the subwoofer channel, set the LPF to allow only low frequencies to pass (e.g., 80-120 Hz).
- Filtr górnoprzepustowy (HPF): For the full-range channels, set the HPF to block low frequencies from reaching your main speakers (e.g., 80-100 Hz) to prevent distortion and improve sound clarity.
- Bass Boost: Use the bass boost sparingly. Excessive bass boost can lead to distortion and speaker damage. Adjust to taste, ensuring sound remains clear.
Instrukcja obsługi
Po zainstalowaniu i skonfigurowaniu amplifier will power on automatically with your head unit via the remote turn-on wire. Adjust volume and tone controls primarily from your head unit. The amplifier's settings (gain, crossover) are set during installation and generally do not require frequent adjustment.
Konserwacja
The DB DRIVE A3 2250.5 amplifier wymaga minimalnej konserwacji.
- Czyszczenie: Periodically wipe the ampZewnętrzną powierzchnię filtra należy czyścić miękką, suchą ściereczką, aby usunąć kurz. Nie należy używać silnych środków chemicznych ani ściernych środków czyszczących.
- Kontrola: Occasionally check all wiring connections to ensure they are secure and free from corrosion. Ensure the amplifier's ventilation fins are not obstructed.
Rozwiązywanie problemów
Jeśli masz problemy z urządzeniem amplifier, zapoznaj się z poniższymi typowymi problemami i rozwiązaniami:
| Problem | Możliwa przyczyna | Rozwiązanie |
|---|---|---|
| Brak zasilania / Amplifier nie włącza się |
|
|
| Brak wyjścia dźwięku |
|
|
| Zniekształcony dźwięk |
|
|
| Ampprzegrzanie lifier (tryb ochronny) |
|
|
Specyfikacje
| Funkcja | Szczegół |
|---|---|
| Numer modelu | A3 2250.5 |
| Maksymalna moc wyjściowa | 1000 watów |
| Kanały | 5-Channel (4 stereo, 1 mono for subwoofer) |
| AmpKlasa lifier | Klasa AB |
| Komponenty | Audiophile Grade |
| Wymiary (dł. x szer. x wys.) | Wymiary 53.59 x 30.48 x 10.92 cm |
| Waga | 6.53 kilogramów |
| Zarządzanie ciepłem | DRIVESINK (Okur Series A3 feature) |
Gwarancja i wsparcie
DB Drive products are designed for reliability and performance. This product is covered by a limited warranty. Please refer to the warranty card included with your product or visit the official DB Drive webSzczegółowe warunki gwarancji można znaleźć na naszej stronie.
For technical support, service, or warranty claims, please contact your authorized DB Drive dealer or visit the DB Drive official webStrona zawierająca informacje kontaktowe i zasoby pomocy.